How to Photograph Tropical Sunsets Without a Pro Camera

The Myth of the Professional Camera
Many travelers believe that capturing a breathtaking tropical sunset requires a high-end DSLR or a specialized mirrorless camera with a heavy lens. This is a misconception. While professional gear has its advantages, the most critical elements of a great sunset photograph—lighting, composition, and timing—are entirely independent of the device in your hand. Whether you are using an iPhone 15, a Samsung Galaxy, or a mid-range Android device, you can capture professional-grade images of the horizon by understanding how to manipulate your phone's software and your physical position.
This guide provides practical techniques to optimize your smartphone or compact camera for the intense light and high contrast found in tropical environments. You will learn how to manage exposure, utilize natural elements for composition, and time your shots to ensure your memories of the coast look as vibrant as the real thing.
Mastering Exposure and Light Management
The primary challenge with tropical sunsets is the extreme dynamic range. The sun is incredibly bright, while the foreground—such as the beach or the shoreline—is often in deep shadow. If you simply point and shoot, your phone will likely overexpose the sky (making it look white and washed out) or underexpose the beach (making it look black).
Manual Exposure Control
On almost all modern smartphones, you can manually adjust the exposure before you take the shot. Tap on the brightest part of the sky—the area just above the sun—rather than the sun itself. Once the focus box appears, look for the sun icon or the slider that appears on your screen. Slide it down to decrease the exposure. This technique, often called "underexposing," preserves the deep oranges, pinks, and purples in the clouds rather than letting them turn into a bright white blur.
Use the HDR Feature
High Dynamic Range (HDR) mode is your best friend when photographing coastal landscapes. HDR works by taking several photos at different exposure levels and merging them into one. This allows the camera to capture detail in both the dark sand and the bright sky. If you are using an iPhone, ensure "Smart HDR" is enabled in your camera settings. If you are using a device with a dedicated "Pro" mode, look for settings that allow for multiple exposures to ensure you don't lose the detail in the tropical palm trees or rock formations in the foreground.
Optimizing Composition on the Beach
A great photo is more than just a bright sky; it is about how the elements of the beach interact with the horizon. Use the natural architecture of the coast to guide the viewer's eye.
The Rule of Thirds
Avoid placing the horizon line directly in the middle of your frame. A centered horizon often makes a photo look static and uninteresting. Instead, use the grid lines on your camera app (enable "Grid" in your settings) to place the horizon on the top third or bottom third of the screen. If the sky is particularly spectacular with dramatic clouds, place the horizon on the bottom third to emphasize the heavens. If the reflection on the wet sand or the tide pools is more interesting, place the horizon on the top third.
Utilizing Foreground Interest
A sunset photo that is just a line of light on the water can feel empty. To add depth, find an object in the foreground to anchor the shot. This could be a piece of driftwood, a textured seashell, or the silhouette of a palm leaf. By including these elements, you create a sense of scale and place. For example, if you are enjoying a sunset boat cruise, use the railing of the boat or the silhouette of a mast to add a sense of perspective and movement to your images.
Silhouettes and Shadows
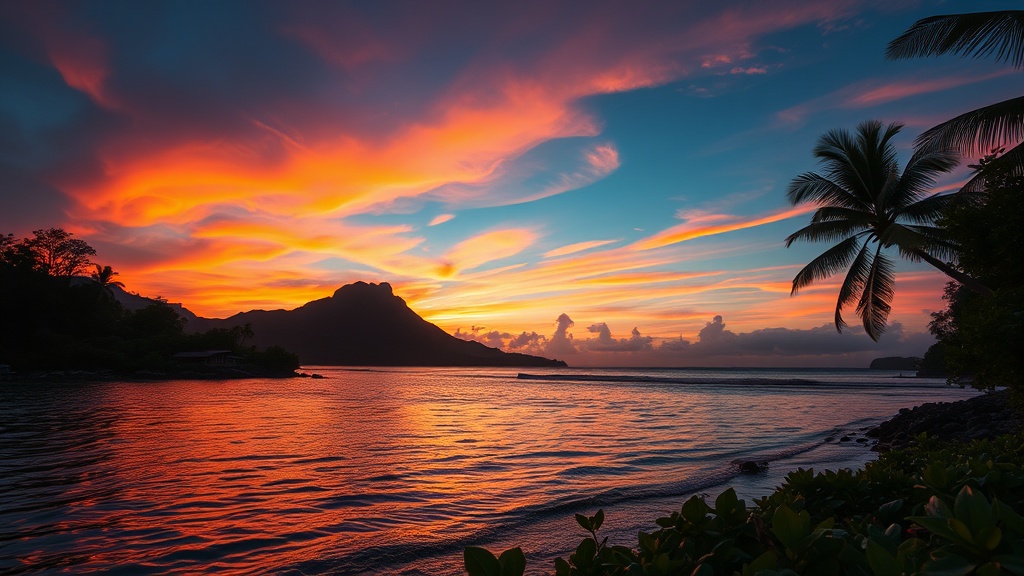
Since you are intentionally underexposing the shot to save the colors in the sky, anything in the foreground will naturally become a silhouette. Use this to your advantage. Look for striking shapes like a single leaning coconut tree, a distant tropical bird, or a person walking along the shoreline. These dark shapes provide a sharp contrast against the vibrant colors of the sky, making the image much more dramatic.
Technical Tips for Different Light Phases
The "Golden Hour" and the "Blue Hour" are two distinct phases of a tropical sunset, each requiring a different approach.
- The Golden Hour: This occurs roughly 30 minutes before the sun actually hits the horizon. The light is soft, warm, and directional. This is the best time for portraits on the beach or capturing the texture of the sand and waves.
- The Sunset Peak: This is the moment the sun is touching the water. This is when the light is most intense. This is the time to use your exposure slider to prevent "blown out" highlights.
- The Blue Hour: This happens immediately after the sun has dipped below the horizon. The sky turns a deep indigo or violet. During this time, the light levels drop significantly. This is the best time to use a tripod or lean your phone against a beach bag to prevent motion blur.
Essential Gear for Non-Professionals
While you don't need a $2,000 camera, a few inexpensive tools can significantly improve your results in a tropical setting.
The Smartphone Tripod
As the light fades during the blue hour, your camera's sensor needs more time to "see," which can lead to blurry photos if your hands shake. A small, portable tripod like a GorillaPod is lightweight and can be wrapped around a beach chair or a piece of driftwood. This ensures your shots of the receding tide or the stars appearing over the ocean remain crisp.
Lens Cleaning Cloth
This is the most overlooked tool in beach photography. Salt spray, sand, and even fingerprints can create a hazy, "dreamy" look that is actually just a smudge on your lens. A quick wipe with a microfiber cloth before you start your sunset session will ensure your images are sharp and the light flares are clean rather than blurry.
Polarizing Filters for Lenses
If you are using a high-end smartphone or a compact point-and-shoot, you can buy clip-on polarizing filters. These are highly effective at reducing glare from the ocean surface and increasing the saturation of the sky. This makes the blues and oranges appear much more vivid without needing heavy digital editing later.
Editing Without Overdoing It
The final step in your photographic process happens after you have left the beach. Even a simple smartphone photo can be elevated with basic editing. Avoid using heavy, pre-set filters found in social media apps, as these often look artificial and can ruin the natural beauty of the tropical landscape.
Instead, use free or low-cost apps like Adobe Lightroom Mobile or Snapseed. Focus on these three adjustments:
- Contrast: Increasing contrast slightly will help separate the dark silhouettes from the bright sky.
- Saturation/Vibrance: If the colors look a bit dull, boost the vibrance. Vibrance is generally better than saturation because it increases the intensity of the colors without making skin tones or specific colors look "neon" or unrealistic.
- Warmth (White Balance): If the sunset looks too "white" or "blue," move the temperature slider toward the yellow/orange end. This will enhance the natural warmth of the tropical sun.
By following these steps, you can ensure that your tropical sunset photos are more than just quick snapshots. You will create high-quality, evocative images that truly capture the essence of your coastal adventure.
Steps
- 1
Find the right angle
- 2
Adjust your exposure
- 3
Steady your hands
- 4
Use the rule of thirds